How to Install Ubuntu on VirtualBox: Step-by-Step Guide to Creating a Virtual Machine
Setting up a virtual machine with VirtualBox and installing Ubuntu (or the Kubuntu variant) is a simple and safe way to experiment with Linux environments without touching your main operating system. The techrm tutorial walks you through downloading and installing VirtualBox on Windows or Linux, configuring the virtual machine in detail with CPU, RAM, disk and network settings, installing the guest operating system, and enabling Guest Additions.
A virtual machine (VM) simulates a complete computer, letting the host allocate resources such as CPU, RAM, disk space and network access to a “guest” operating system. This lets you run Ubuntu as if it were a standalone PC, with isolation, flexibility, and the ability to test software, servers, scripts or development environments without any risk to your main system.
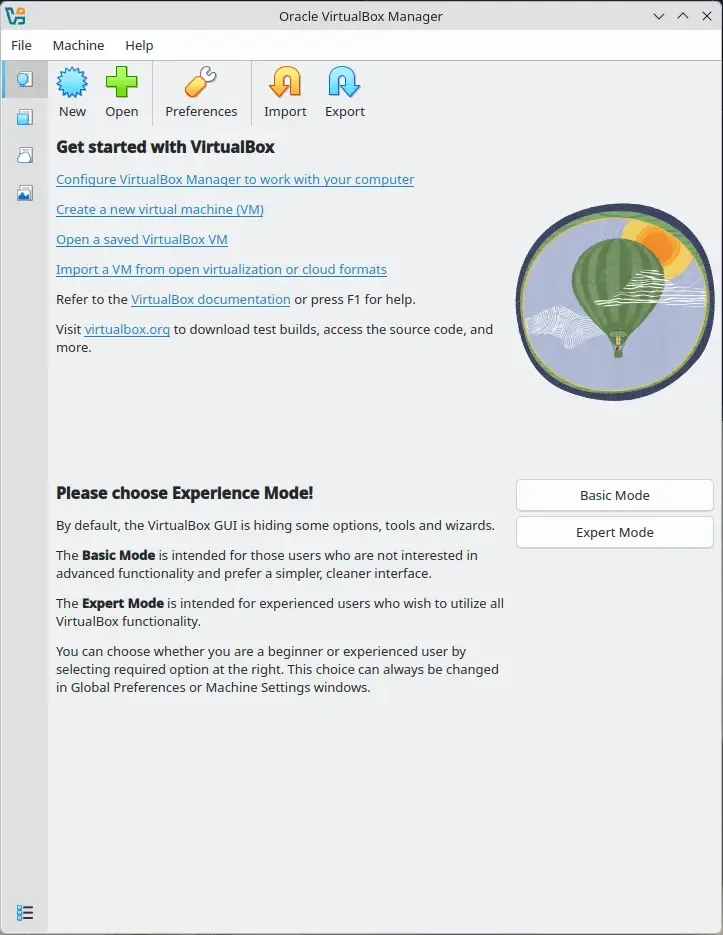
The process starts with installing VirtualBox: on Windows, using the executable downloaded from the official site; on Linux, using your distribution’s repositories and adding your user to the “vboxusers” group to enable access to devices and shared folders. In both cases, it is recommended to install the matching Extension Pack as well, to unlock extra features (USB 3.0, NVMe, RDP, encryption, and more).
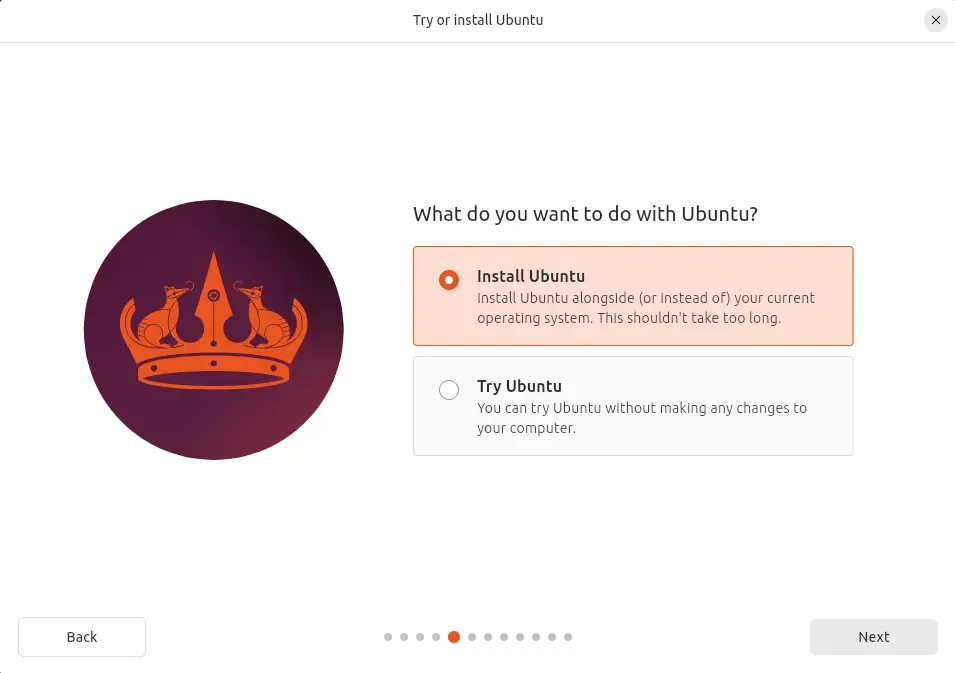
Next, you need to download the Ubuntu or Kubuntu ISO, preferably an LTS release, and verify the file’s integrity with a checksum (SHA256) to avoid errors or corruption during installation. After creating a new VM in VirtualBox — assigning a name, type (Linux), version (Ubuntu 64-bit), RAM, CPU and a virtual disk (VDI) with dynamic or fixed storage — you mount the ISO image and start the installation procedure just like on a real PC: language selection, keyboard layout, automatic partitioning of the virtual disk, user and password creation, and finally the first boot.
To improve the experience, the tutorial explains how to install Guest Additions, which are essential for smooth interaction between host and guest: adaptive screen resolution, shared mouse, shared clipboard, shared folders, drag & drop, and better overall integration.
Finally, it suggests optimizations: allocate adequate resources (RAM, CPU, network), enable 3D acceleration, choose between “NAT” or “Bridged” networking, and take advantage of snapshots and cloning for backups, versioning and portability. The end result is a stable, performant and versatile Ubuntu virtual machine, perfect for software development, testing, containers, servers, automation or embedded projects.