
Full Color Dome Camera – 2 MP
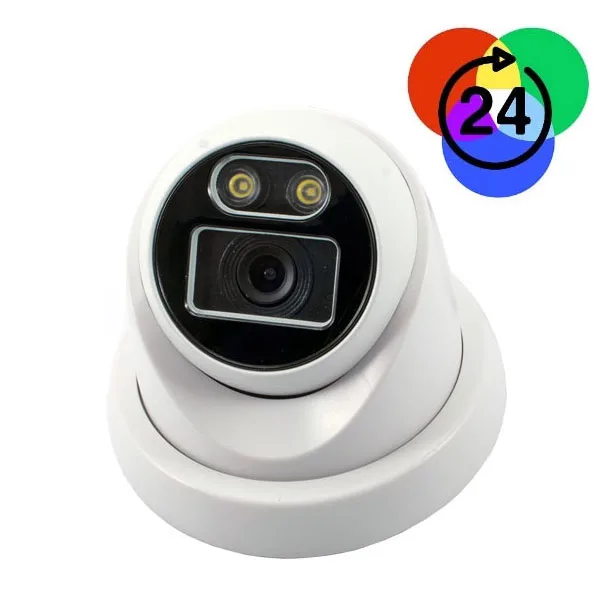
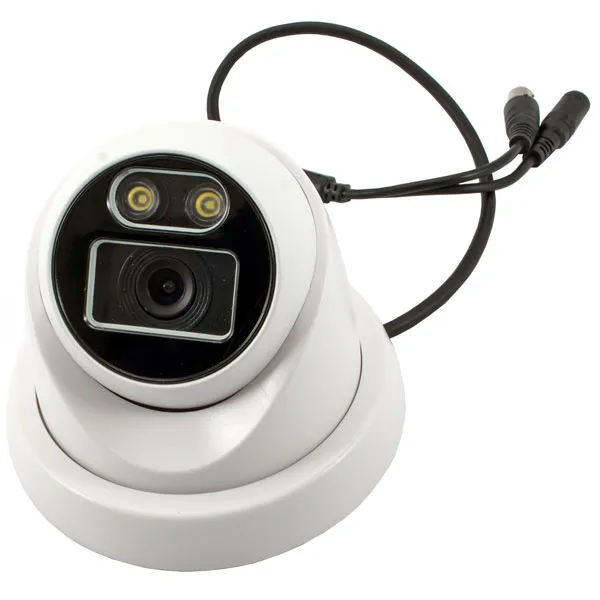
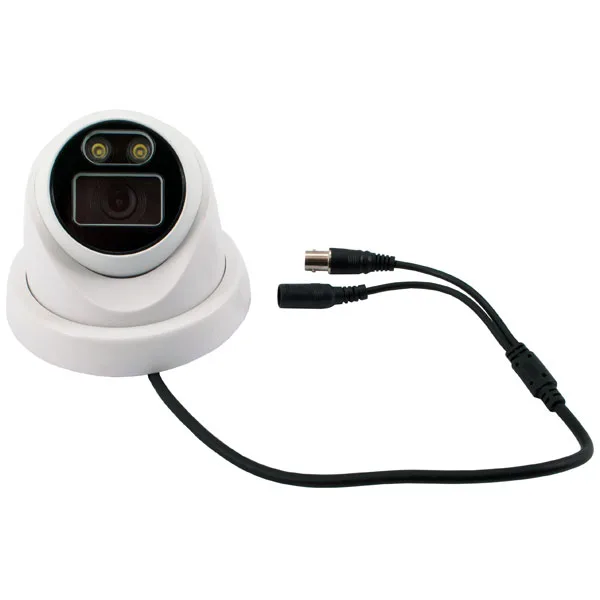
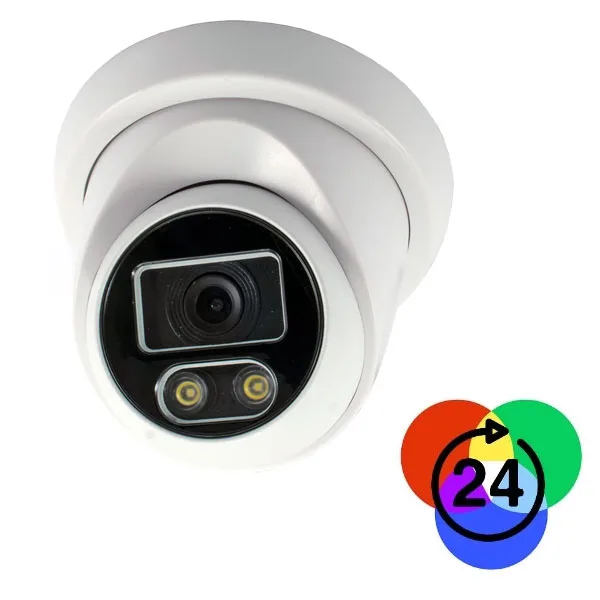
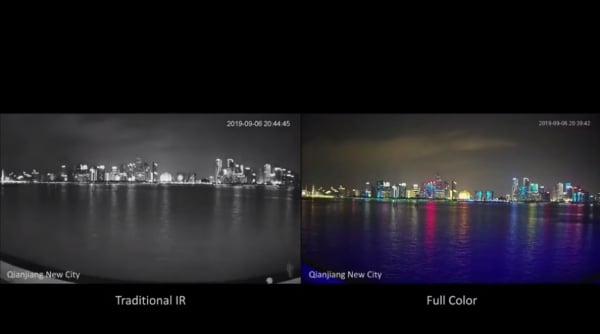
Ceiling or wall mount, IP67, with two white lights that keep colour at night up to 20-30 metres; a single output for AHD, CVI, TVI and CVBS.
SKU 8100-FR817EAN 8219671119245Features: 4-in-1 signal (CVBS/AHD/TVI/CVI)Colour: WhiteFormat: DomeMaterial: MetalResolution: 2 MpxConnection type: Coaxial cableCameras
Description
| Outdoor 4-in-1 colour Dome camera (AHD-CVI-TVI-CVBS), waterproof (IP67). It has a 1/ 2.8” CMOS image sensor with 2 Megapixel resolution and a 3.6 mm lens. It is fitted with 2 white-light LEDs and new technology that delivers Full Color images even in low light, day and night. The 2 LEDs switch on automatically below a certain light threshold and can illuminate up to a distance of 20-30 metres. The camera is supplied complete with wall plugs.
Please note: the power supply is not included (see related products). To select the various camera settings (AHD / CVI / TVI / CVBS mode, etc.) you need a DVR/NVR to reach the camera menu. |
|
|
|
Technical specifications
|
|
|
FAQ
|
| The camera image does not appear Since this is a 4-in-1 camera, the cause may be a mismatch between the signal currently set on the camera and the receiving device. For example, if the camera (set to TVI by default) is connected to a monitor/TV with a CVBS input, no picture can appear. As you cannot see the video signal, the camera has to be configured blind, that is without being able to see the menu. Follow the steps below to the letter; they hold provided that no setting has been changed by moving the joystick during your earlier attempts. If at any of the steps below you think you have made a mistake, start again from point “1”. First of all find the word “UP” on the joystick, so that you hold it the right way round, with the “UP” direction pointing upwards. 1. Remove power 2. Apply power again and wait 5 seconds before moving on to the next step 3. Press the joystick button (OK) 4. Move the joystick down (DOWN) 5 times 5. Press the joystick button (OK) 6. Move the joystick to the right (RIGHT) 2 times 7. Move the joystick down (DOWN) 2 times 8. Press the joystick button (OK) 9. At this point the camera switches off and on again; after a few seconds the picture should appear In short, the procedure can be summarised as: OK > 5 times DOWN > OK > 2 times RIGHT > 2 times DOWN > OK |
Technical details
| Video output (BNC) | 4 in 1 - AHD / CVI / TVI / CVBS |
|---|---|
| Image sensor | 1/ 2.8" CMOS |
| Image resolution | 2 MP |
| Effective pixels | 1920(H)*1080(V) |
| TV system | PAL |
| Lens | 3.6 mm |
| Electronic shutter | Automatic |
| Illuminator range | 20-30 metres |
| Frame Rate | 30fps(60Hz); 25fps(50Hz) |
| Minimum illumination | 0 Lux (LED ON) |
| OSD (On Screen Display) | Yes |
| AGC (Automatic Gain Control) | Yes |
| BLC (Back Light Compensation) | Yes |
| Image adjustment | Yes |
You may also like…
-
 Recording systems
 -
Recording systems
Related products
-
 Cameras
 -
 Cameras
 -
 Cameras
 -
 Cameras
4MP ANPR Camera – License Plate Reading, Relay Gate Control and AI Video Analytics
€507.38excl. VAT€619.00incl. VAT -
 Cameras
 -
 Cameras
 -
 Cameras
 -
 Cameras