
NODE MCU ESP8266 development board
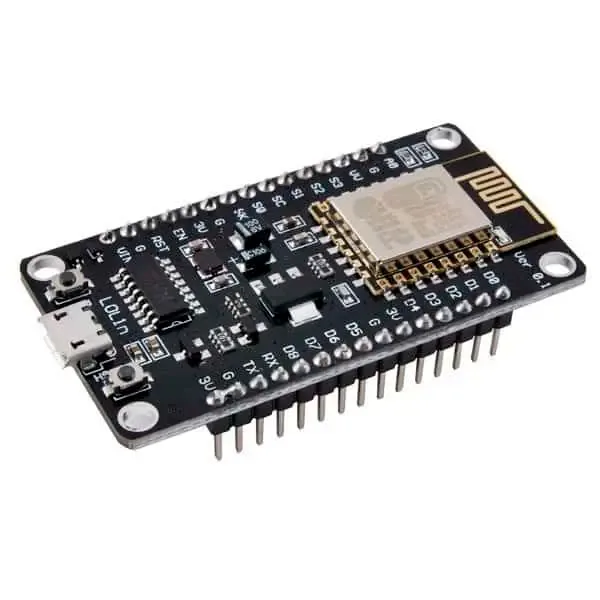
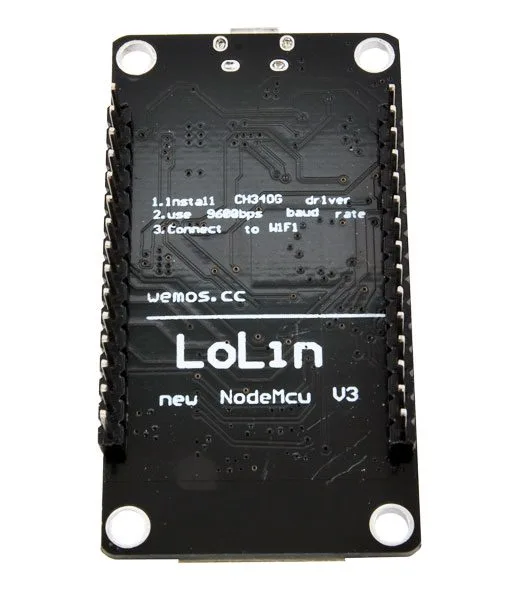
SKU 1606-NODEMCUESPEAN 8219671091978Item type: Assembled, BoardESP8266 / ESP32
Description
Based on the ESP8266 Wi-Fi transceiver module and the CH340 USB converter chip, this compact (Open Source) development and prototyping board is ideal for IoT (Internet of Things) applications. The Wi-Fi module is compatible with the 802.11 b/g/n standard at 2.4 GHz, features an integrated TCP/IP stack, 19.5 dBm output power, data interfaces (UART / HSPI / I2C / I2S / Ir Remote Control GPIO / PWM), and a PCB antenna. It also includes a micro USB connector and a reset button. Programmable with the Arduino IDE, it includes interpreters for processing commands in languages such as LUA.
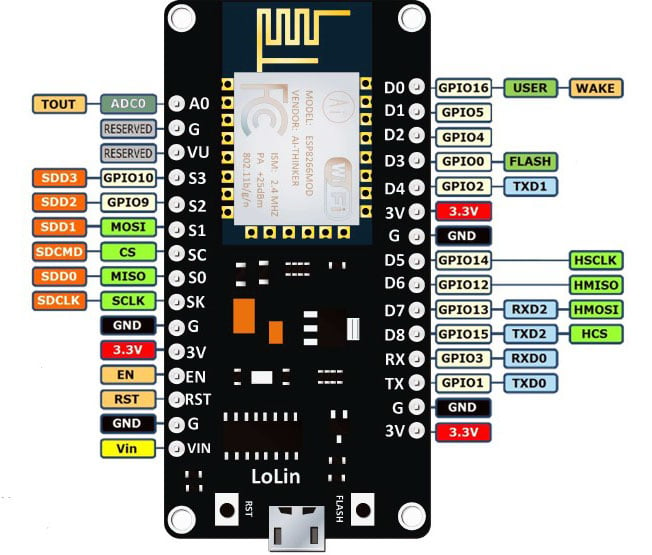
Technical specifications
- Data interface: UART / HSPI / I2C / I2S / Ir Remote Control GPIO / PWM
- Current consumption: with Wi-Fi continuously transmitting approx. 70 mA (200 mA MAX) – in standby < 200µA
Programming guide for our NODEMCU module
Warning! various versions of the NODEMCU module are available on the market; this guide is specific to the module we sell.
To program this board you will need:
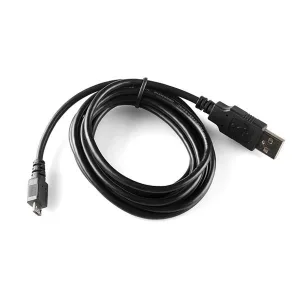
- Micro-USB USB cable (see related products) that supports data transmission
- CH340 driver
- Arduino IDE (the module has been tested with Arduino IDE 1.8.5)
- ESP8266WiFi management library
After installing the CH340 driver, start the Arduino IDE: Click on “File > Preferences” and the “Preferences” window will open.
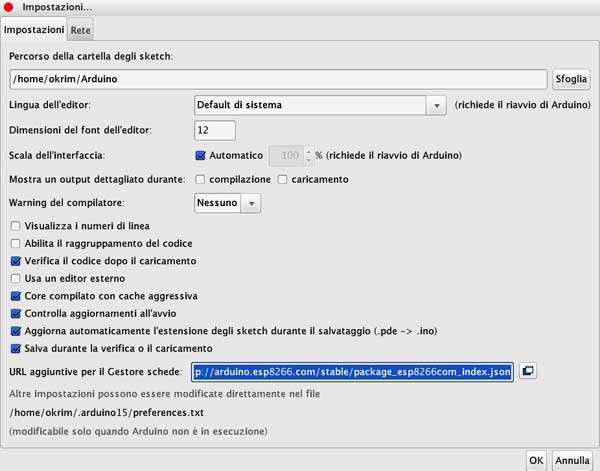
Enter this URL “http://arduino.esp8266.com/stable/package_esp8266com_index.json” in the lower text box of the window (“Additional Boards Manager URLs”). Click OK to continue.
After this first step, we can install the board: from the IDE main screen click “Tools > Board > Boards Manager…” and the “Boards Manager” window will open.
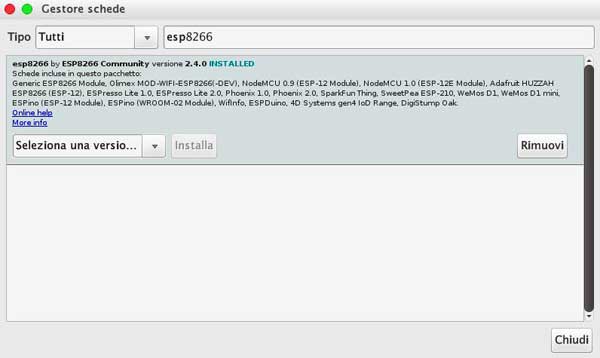
At this point, in the “Filter your search” bar type “esp8266”; if you have followed the previous steps correctly, you will find the “Install” option available. (It is recommended to install the latest available version).
After installing the board (about 150MB) you can proceed to configuration.
In the IDE main screen click “Tools > Board > NodeMCU 1.0 (ESP-12E Module).
Click again on “Tools > Upload Speed > 115200”.
After doing this, you have finished configuring and installing the board and you are ready to program!
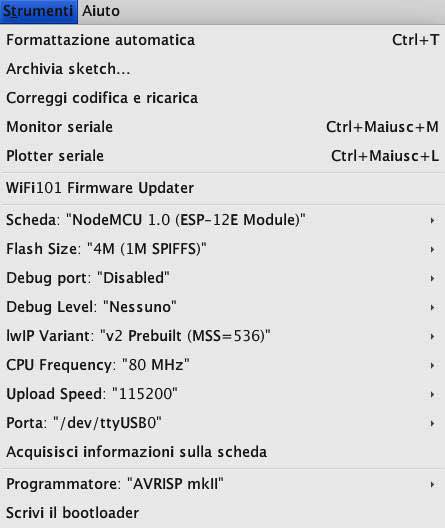
Documentation and useful links
- ESP8266WiFi.zip
- Schematic & PCB, Source Code, API Documents
- Drivers:
– Windows
– Linux
– Mac
Technical details
| Model | ESP8266-12E |
|---|---|
| Wireless standard | 802.11 b/g/n |
| Frequency range | 2.4 GHz - 2.5 GHz (2400M-2483.5M) |
| Wi-Fi modes | Station / SoftAP / SoftAP+station |
| Stack | Integrated TCP/IP |
| Output power | 19.5dBm in 802.11b mode |
| Security modes supported | WPA / WPA2 |
| Encryption | WEP / TKIP / AES |
| Power supply | from 4.5 VDC to 9 VDC (VIN) or via micro USB connector |
| Operating temperature | from -40°C to +125°C |
| Dimensions (mm) | 58x31.20x13 |
| Weight | 10 grams |
You may also like…
-
 USB cables
Related products
-
 ESP8266 / ESP32
 -
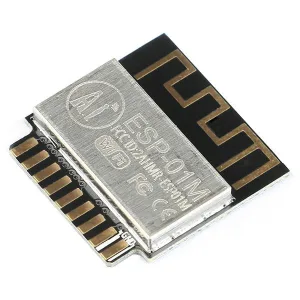 Wi-Fi modules
 -
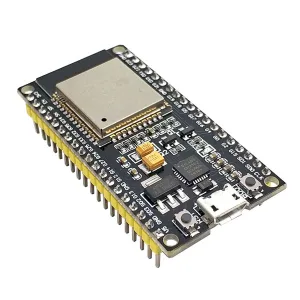 ESP8266 / ESP32
 -
 ESP8266 / ESP32
 -
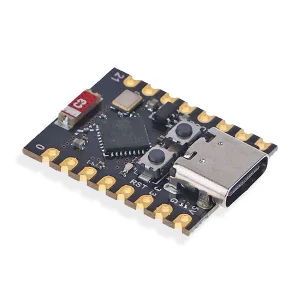 ESP8266 / ESP32
 -
 ESP8266 / ESP32
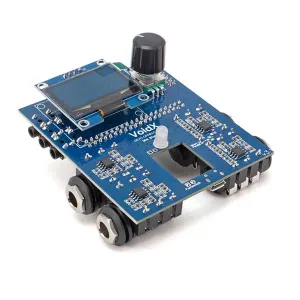
Mini Stomp-X Dev-Board – Demo Board for the VoidX-DSPModule
€31.97excl. VAT€39.00incl. VAT -
 ESP8266 / ESP32
 -
 ESP8266 / ESP32